Dried hydrangeas bring beauty to homes long after summer ends. Many flower lovers struggle with preserving these blooms, often ending up with shriveled petals instead of full, lasting arrangements.
With the right methods, anyone can create gorgeous hydrangeas that maintain their shape and color for months or even years.
This blog covers everything needed for successful hydrangea drying, when to cut the flowers, the best preservation techniques, and creative display ideas.
By following these basic methods, readers will learn how to make fresh hydrangeas into lasting decorations. The post also includes tips for keeping dried arrangements looking fresh and ways to use them throughout the home.
The Most Important Thing to Know About Drying Hydrangeas
Drying hydrangeas seems simple, but timing and technique matter greatly. Many beginners cut blooms too early or use methods that cause browning and wilting.
With a few key principles, you can avoid common mistakes and create long-lasting dried flowers.
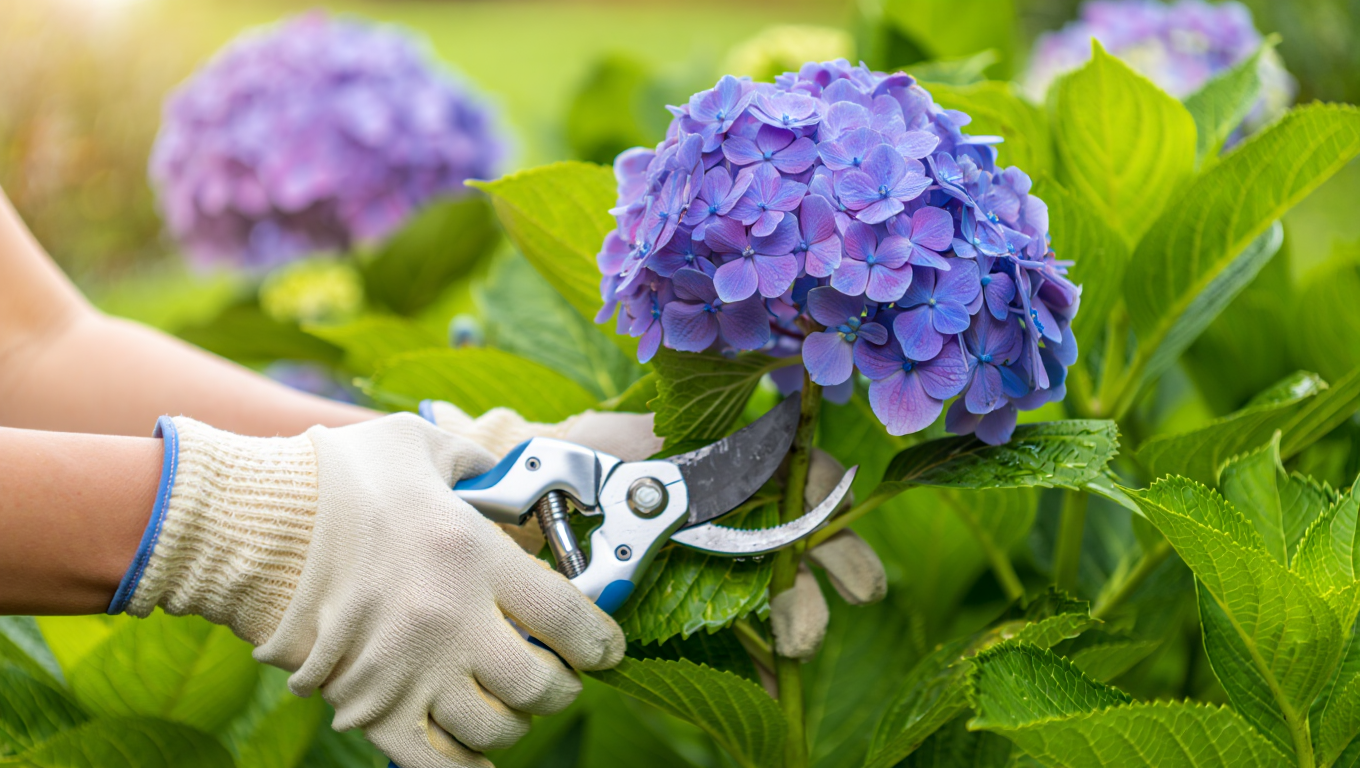
- Wait until late summer when blooms feel papery to the touch before cutting
- Cut stems in the morning after dew has dried but before the day gets hot
- Look for blooms that have changed from bright to muted tones with slight hints of vintage coloring
- Remove leaves from stems completely to focus energy on the flower heads
- Choose a drying method based on your climate (air-drying works in low humidity, water-drying in humid areas)
- Avoid direct sunlight during the drying process to maintain color
- Give blooms enough air circulation to prevent mold
- Handle dried blooms gently as they become more fragile than fresh ones
- Store extra dry hydrangeas in a dark, dry place to maintain their color
Essential Supplies Needed for DIY Dried Hydrangeas
To create beautiful dry hydrangeas, it’s essential to have the right tools and supplies. This process can be simple, but having the right equipment ensures that your flowers retain their beauty throughout the drying process.
If you’re preserving them for crafting, decorations, or gifts, here’s a list of everything you’ll need to get started.
| Essential Tool | Purpose |
|---|---|
| Hydrangea flowers | Fresh hydrangeas to be dried |
| Sharp scissors or pruning shears | For cutting flowers at the stem |
| Silica gel or hanging method | For preserving shape and color |
| Ribbon or twine | To hang flowers upside down if drying naturally |
| Drying rack or mesh screen | For placing flowers, if using silica gel |
| Small container (optional) | For drying flowers in silica gel |
| Hair spray (optional) | To help preserve the texture and color |
How to Dry Hydrangeas: Step-by-Step Instructions
Drying hydrangeas is a wonderful way to preserve their beauty for long-term enjoyment. If you want to display them in your home or use them for craft projects, the process is simple and rewarding.
With the right techniques, you can maintain the vibrancy and shape of the flowers for months. Here’s a step-by-step guide on how to dry hydrangeas at home.
1. Select Fresh Hydrangeas
Start by selecting hydrangea blooms that are fully mature but not overripe. Look for flowers that are rich in color and still have their natural shape.
Avoid picking flowers that are too young or damaged, as they may not dry properly. Use clean, sharp scissors to cut the stems about 6-8 inches below the bloom for easy handling.
2. Prepare the Hydrangeas for Drying
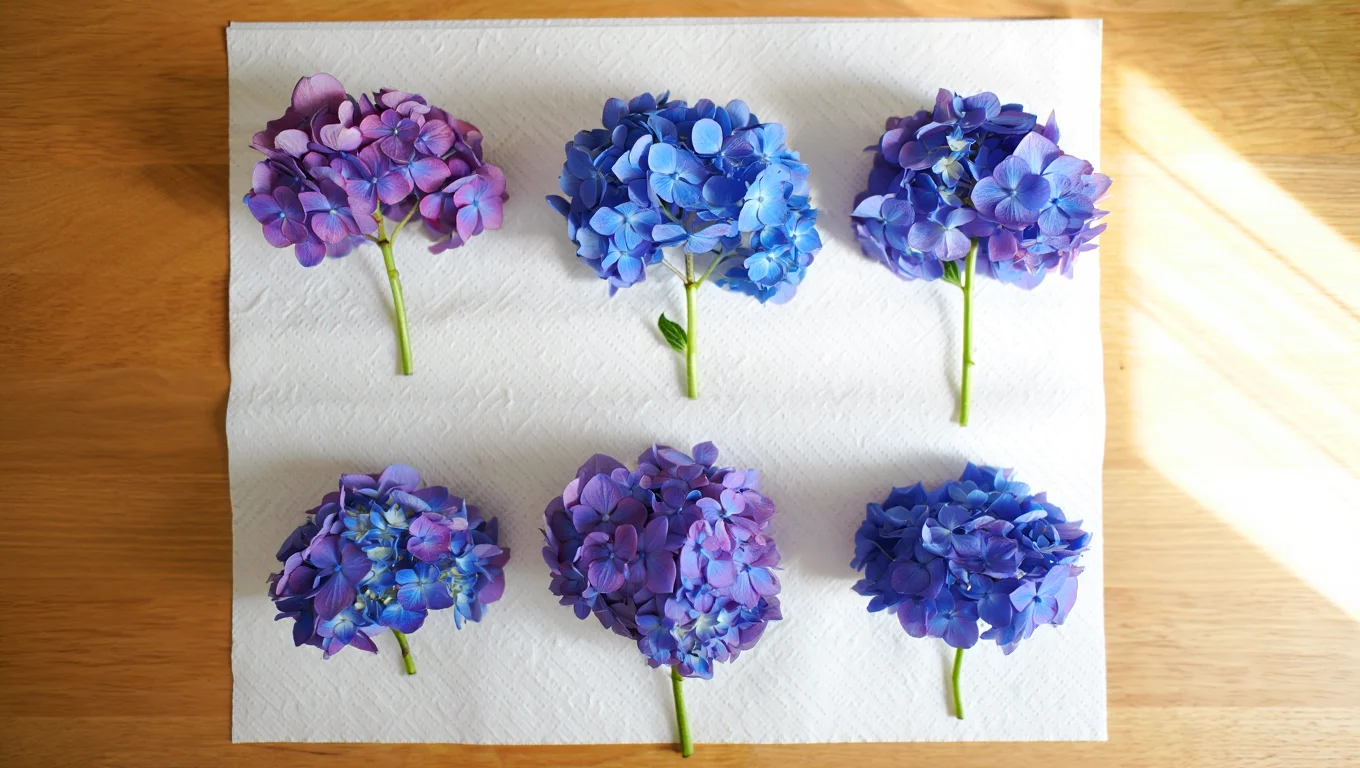
Trim the leaves from the stems, leaving only the flowers and a small portion of the stem. This helps to reduce moisture and encourages quicker drying.
Lay the hydrangeas flat on a clean surface like newspaper or a paper towel. If you’re drying multiple blooms, ensure they are spaced out to prevent mold formation.
3. Hang the Hydrangeas Upside Down
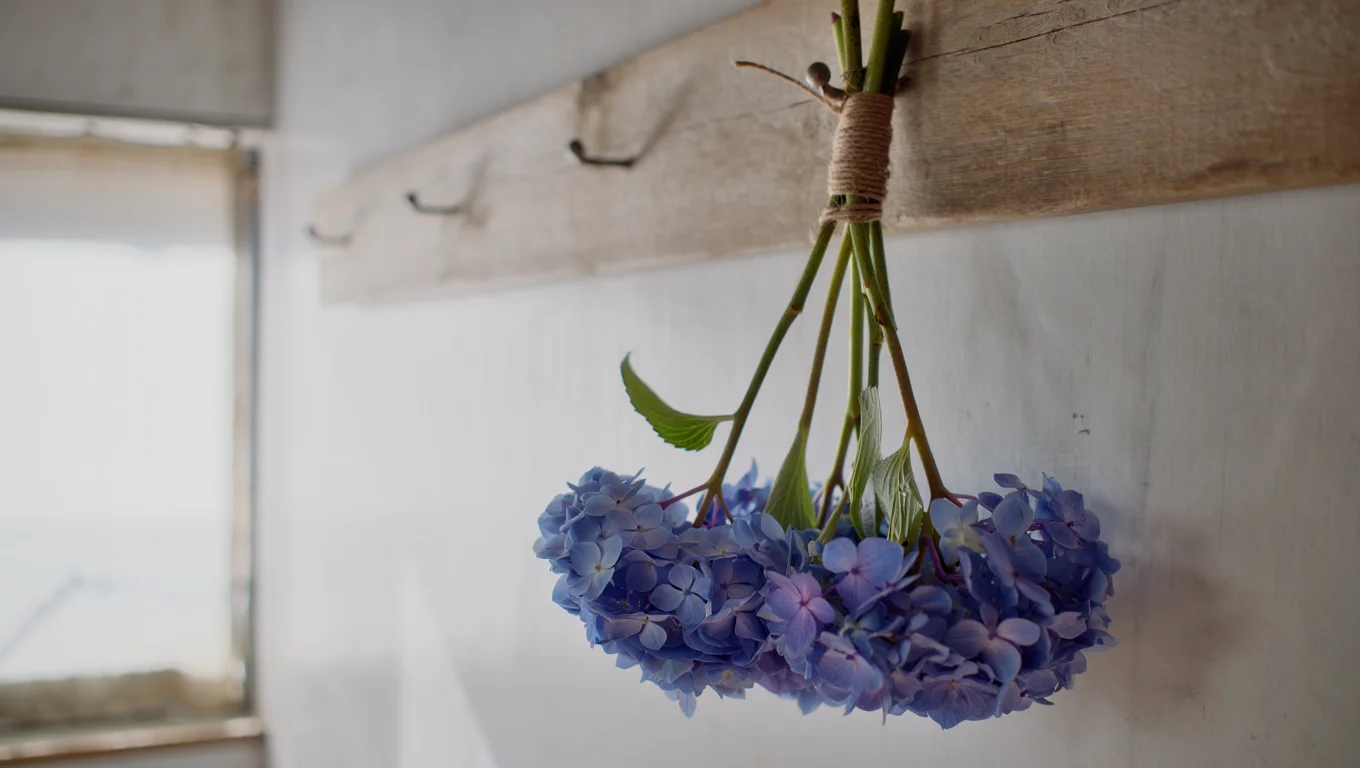
For best results, hang your hydrangeas upside down to dry. Use a piece of twine or string to tie the stems together, creating a small bundle.
Find a dry, well-ventilated area to hang the flowers. Make sure the area is free from direct sunlight, as prolonged exposure can cause the colors to fade. Leave them for two to three weeks.
4. Dry the Hydrangeas in Silica Gel
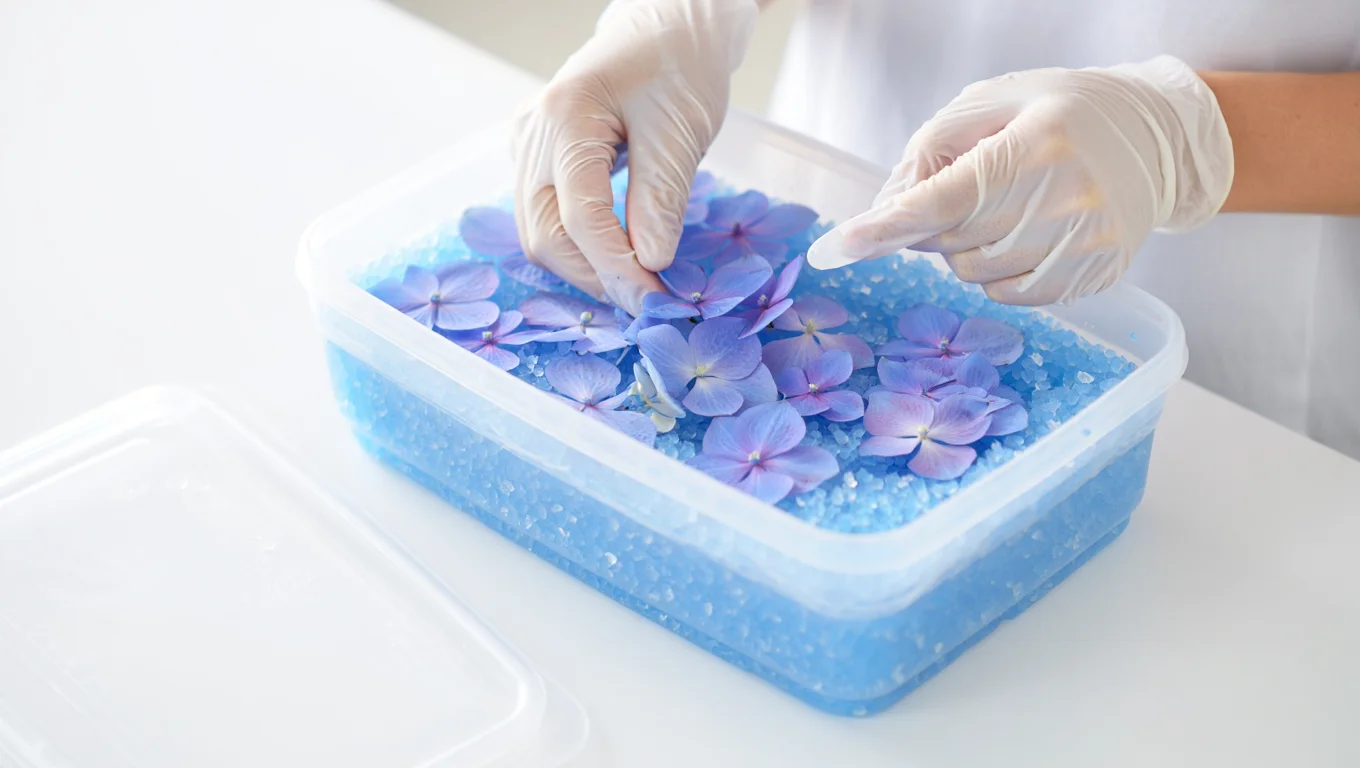
Alternatively, you can use silica gel for quicker drying. Fill a container with silica gel and bury the hydrangea blooms in the gel.
Make sure the blooms are fully covered and press the flowers gently into the gel to maintain their shape. Seal the container and leave it in a cool, dry spot for 3-5 days.
5. Check for Complete Dryness
After 2-3 weeks, check your hydrangeas to ensure they are fully dry. Gently touch the petals and check if they are crisp to the touch.
If they feel soft or bend, allow them to dry longer. Once the flowers are dry, carefully remove any remaining silica gel or hangers.
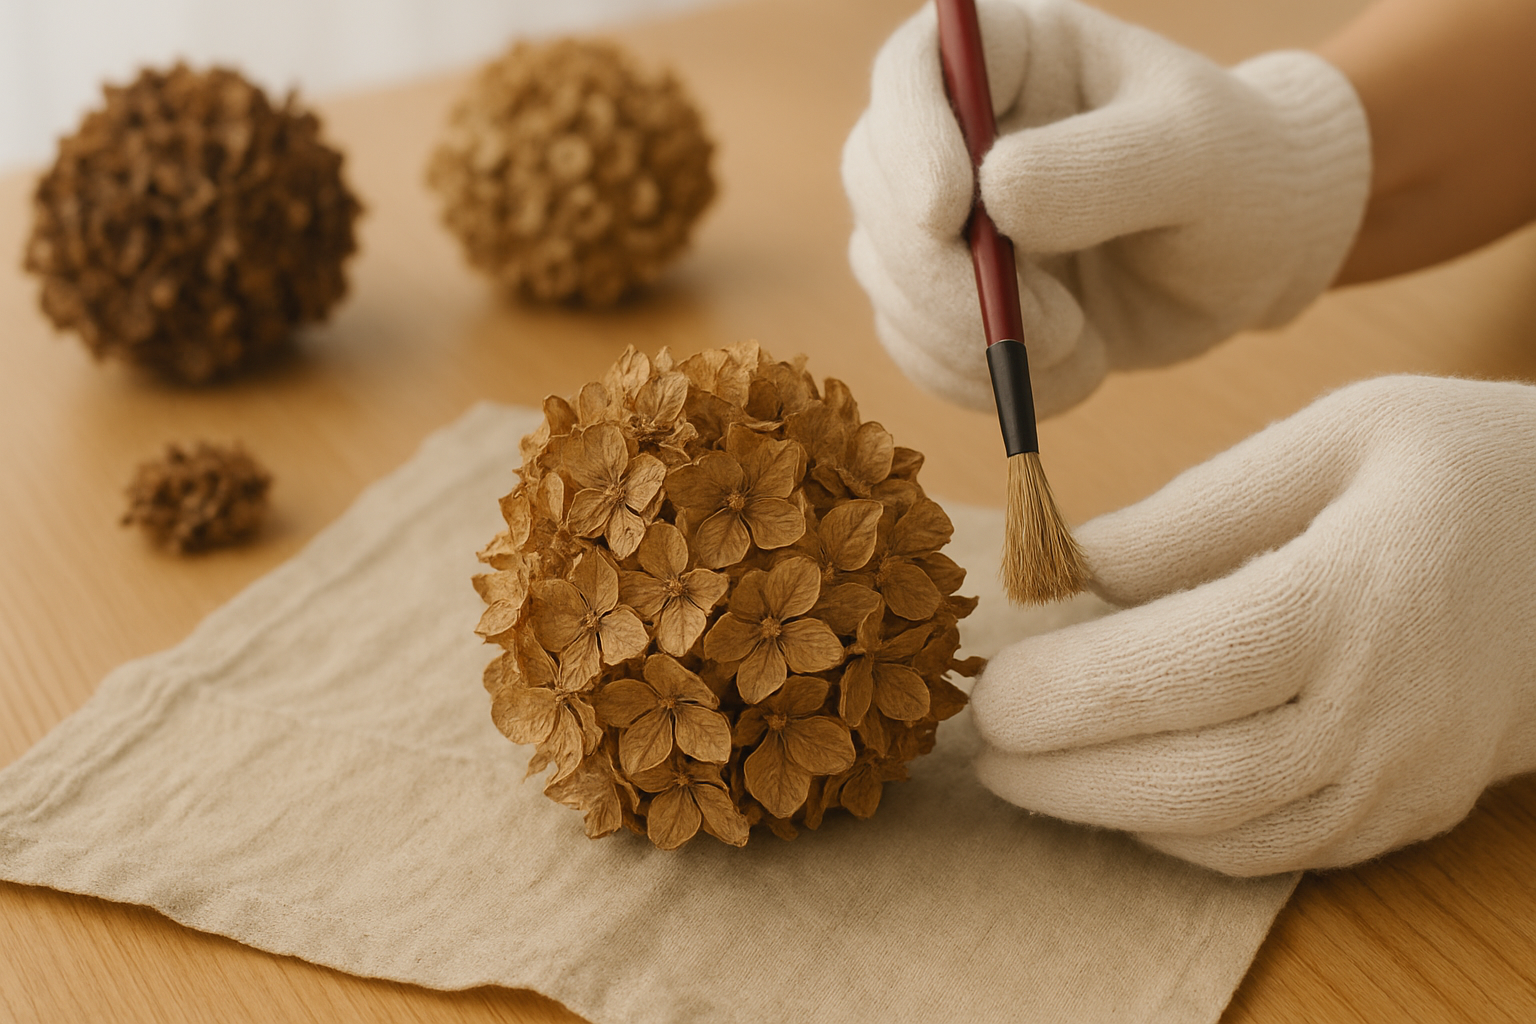
6. Preserve the Hydrangeas with Spray
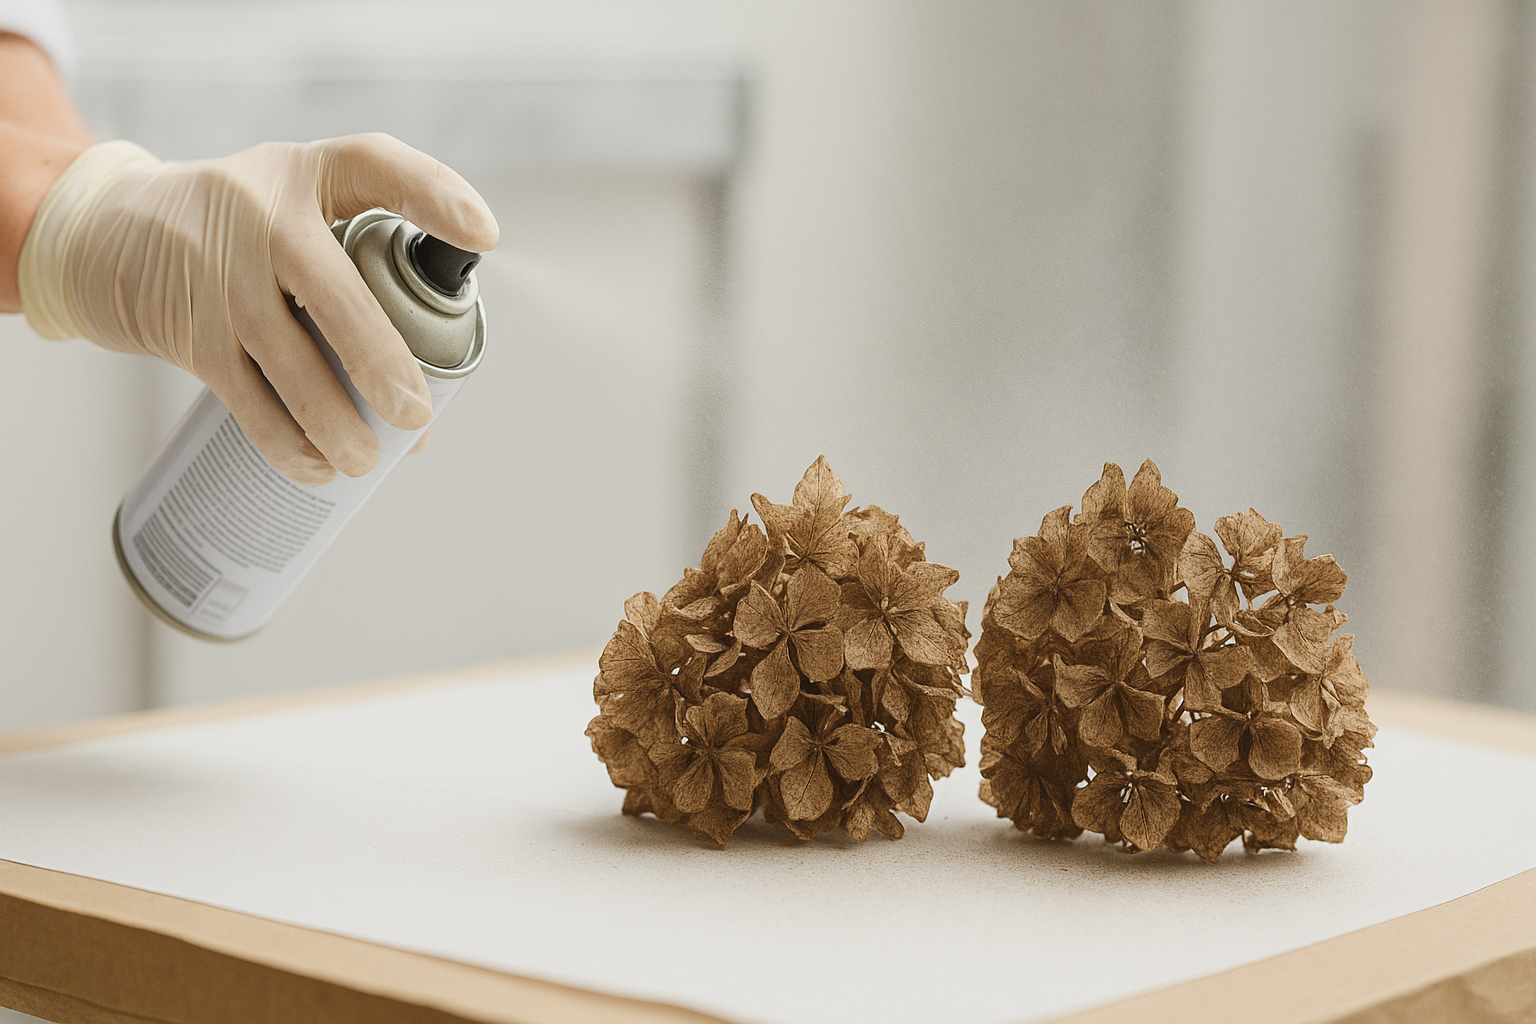
To help maintain the dried flowers’ shape and prevent damage, consider applying a light coat of floral sealant. Hold the can at least 12 inches away from the flowers, and spray in short bursts.
Allow the sealant to dry for 24 hours before handling the flowers. This will protect the blooms from dust and moisture, ensuring they last longer.
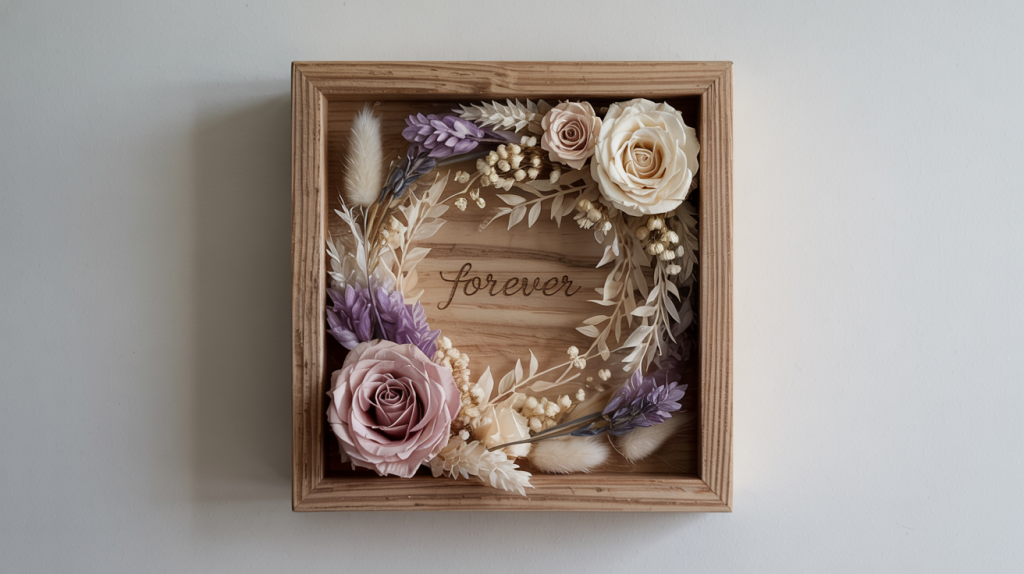
7. Display Your Dried Hydrangeas
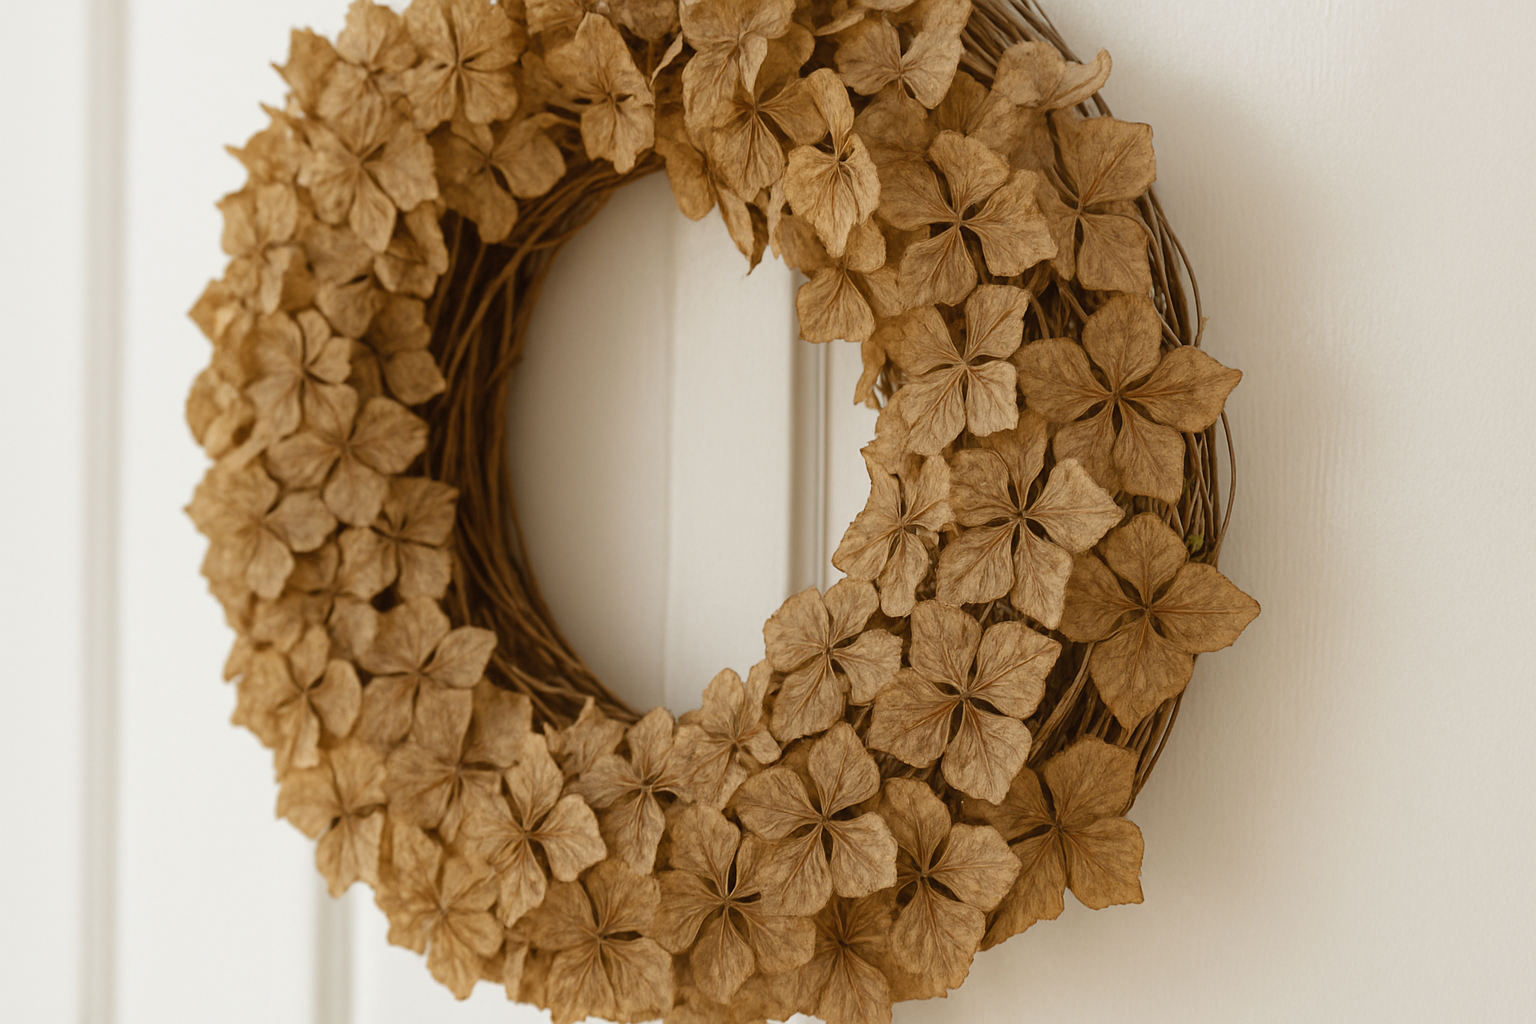
Now that your hydrangeas are completely dry, you can use them for various decorative purposes. Arrange them in a vase, incorporate them into wreaths, or use them for crafting.
For long-lasting beauty, keep your dried flowers away from moisture, and they should stay vibrant for months or even years.
Expert Tips for Long-Lasting Dried Hydrangeas
Getting the most from your hydrangeas requires attention to a few expert techniques. Professional florists and experienced gardeners follow specific practices to ensure their dried blooms stay beautiful for months or even years.
These tips can make your results from acceptable to exceptional.
- Cut stems at a 45-degree angle using sharp, clean pruners to maximize water uptake during the drying process
- Add a few drops of glycerin to water when using the water-drying method to increase the pliability of petals
- Let water fully evaporate naturally in vases rather than discarding it early
- Spray dried blooms lightly with unscented hairspray for added protection and longevity
- Keep dried arrangements away from humid areas like bathrooms and kitchens
- Refresh fading blooms with a light mist of water-diluted fabric dye in the original color
- Clean dust from dried blooms using a hair dryer on the cool setting at low speed
Wrapping It Up
Creating your own dried hydrangeas brings a special touch to your home that store-bought decorations simply can’t match. The process takes patience, but the results are worth the time.
Now you have all the skills needed to dry hydrangeas like a pro. From picking the right moment to cut the blooms to storing them for long-term use, you’re ready to start your collection of preserved flowers.
Remember that each batch may turn out slightly different; that’s part of the charm of handmade dried arrangements.
Don’t be afraid to try different techniques until you find what works best in your climate and with your specific hydrangea varieties.
Why not start with just a few stems this season? Soon you’ll have a stunning array of hydrangeas to enjoy all year long.