We all have photos sitting in boxes or hidden away on our phones. I know how hard it can be to show off those special moments in a way that fits your home style.
I’m going to show you how to make a memory board that transforms those forgotten photos into beautiful wall art. This simple DIY project needs just a few supplies and can be finished in an afternoon.
In this blog, I’ll walk you through each step of creating your memory board. You’ll learn which materials work best, how to arrange your photos for maximum impact, and tips to make your board last for years.
By the end, you’ll have a one-of-a-kind piece that tells your story and adds personality to any room.
Why Make a DIY Memory Board?
Making your memory board brings so many benefits! First, it’s much cheaper than buying pre-made options from stores. I saved over half the cost by creating my own.
A DIY board lets you fully control the look, size, and feel. You can match it perfectly to your home’s colors and style. Plus, the process itself is fun and relaxing.
These boards also make meaningful gifts. I made one for my sister’s birthday with family photos, and she cried happy tears!
Most importantly, a memory board puts your cherished moments on display instead of hiding them in albums or on your phone. Every day, I notice different photos on mine and smile at the memories they bring back.
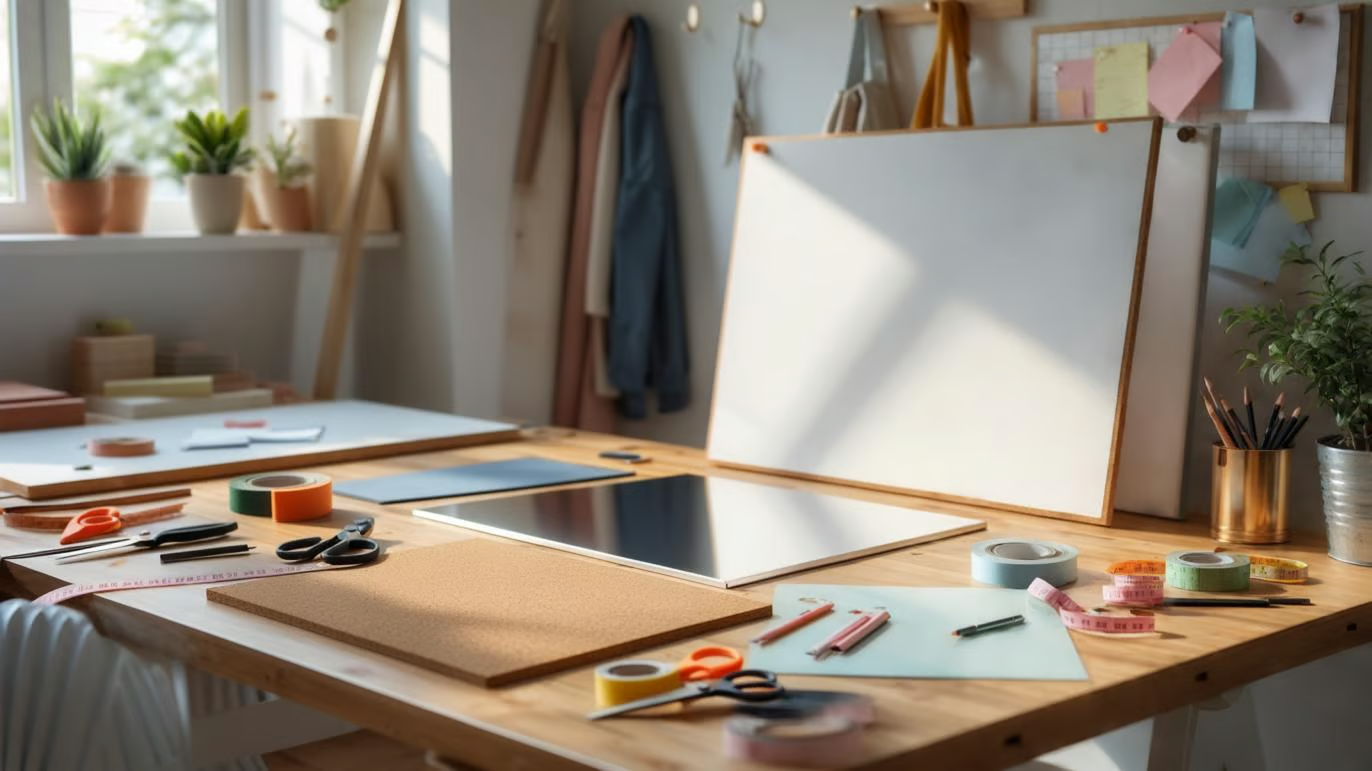
Essential Materials for Your DIY Memory Board
Creating your DIY memory board is a fun and meaningful way to showcase memories, inspirations, or reminders in your space.
If you’re going for a rustic cork style or a sleek magnetic layout, having the right materials makes all the difference.
Here’s a handy table to help you gather all the essentials:
| Material | Purpose |
|---|---|
| Backboard Base | Foundation for your board |
| Covering Fabric | Aesthetic appeal and texture |
| Adhesive | To attach fabric and decorations |
| Frame or Border | Adds structure and design |
| Mounting Hardware | For a wall hanging or a standing display |
| Pins or Magnets | To hold items on the board |
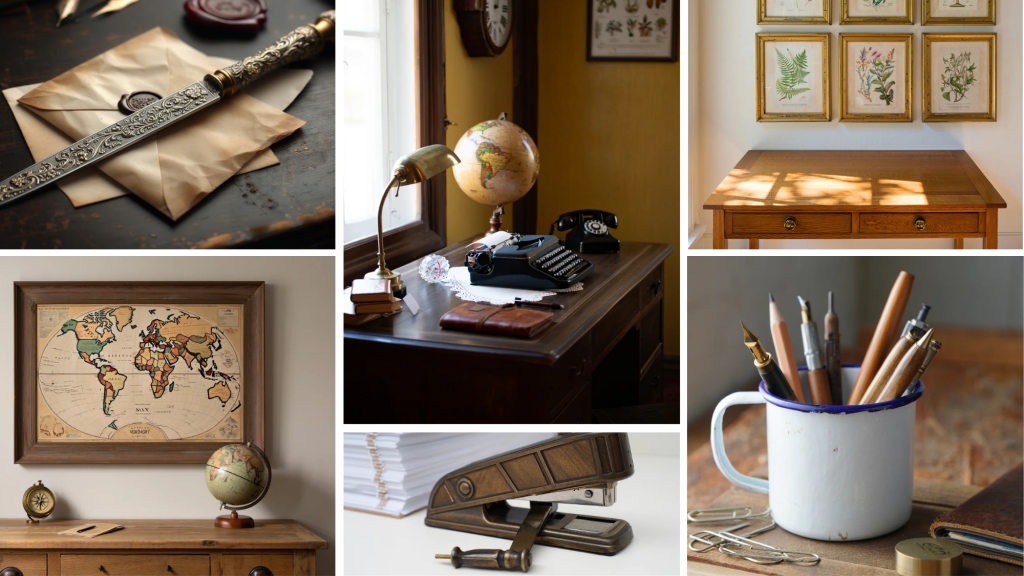
| Decorations | Personalize your board |
| Scissors/Craft Knife | Cutting materials to size |
| Ruler/Measuring Tape | For accurate measurements |
| Optional Lighting | Adds ambiance and visibility |
Step-by-Step Guide: How to Make a DIY Memory Board
Making your DIY memory board is a rewarding project that blends creativity with practicality. If you’re aiming to organize keepsakes or display inspiration, each step plays a key role in building a board that’s both beautiful and functional.
Follow this step-by-step guide to craft a memory board tailored to your style.
1. Choose Your Base Board
Start by selecting a sturdy base for your memory board. Corkboard, foam board, or metal sheeting work well, depending on your desired functionality.
Consider the size and location where you’ll hang or place the board. Make sure it’s lightweight if it’s going on a wall and smooth enough to support your chosen fabric or materials.
2. Measure and Cut Fabric
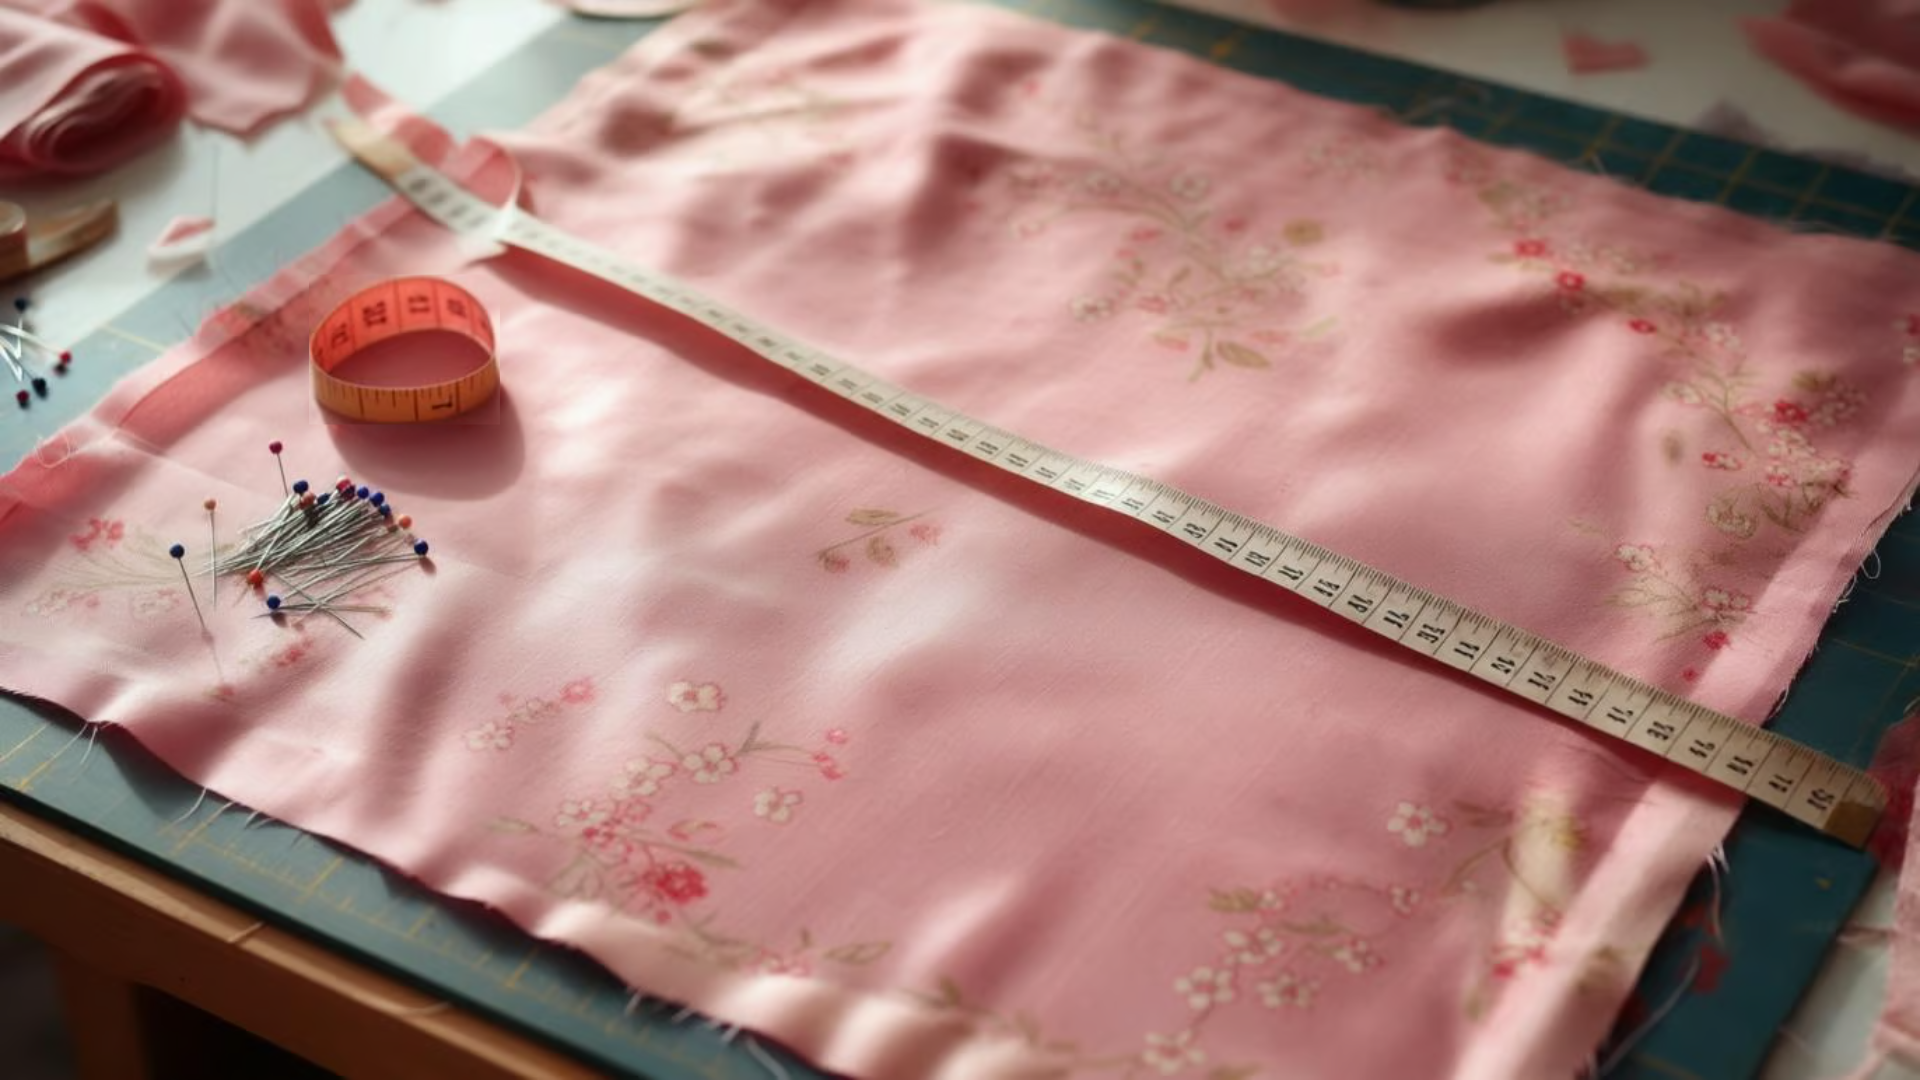
Lay your baseboard flat and spread the fabric over it. Use a measuring tape and scissors or a rotary cutter to cut the fabric, leaving an extra inch on all sides for secure wrapping.
Neat cutting ensures a smooth, wrinkle-free surface once adhered, and proper sizing prevents bunching or uneven borders around the edge.
3. Attach the Fabric to the Board

Apply hot glue or spray adhesive to the board’s front side. Gently press your fabric onto it, starting from the center and working outward to avoid air bubbles.
Flip the board and fold the excess fabric over the edges, securing it neatly on the backside with glue or staples for a clean and finished appearance.
4. Add Decorative Elements

Increase your board’s design with personal touches. Glue on ribbon crisscrosses, wrap twine borders, or add washi tape accents. Use colors and textures that match your room’s aesthetic or theme.
This step adds personality and flair, making your memory board not only useful but also an eye-catching decorative piece.
5. Install Hanging Hardware
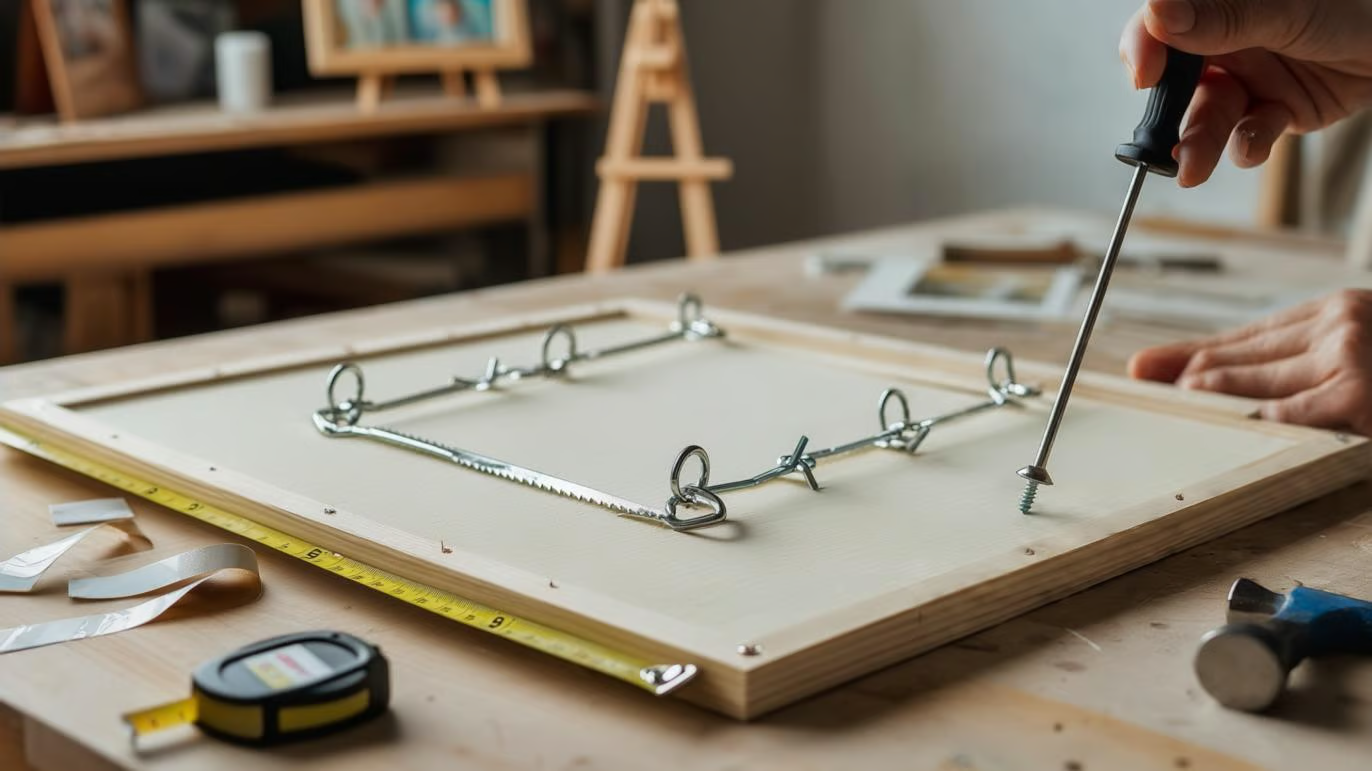
Decide how you want to display your memory board whether hanging or leaning. For wall hanging, attach sawtooth hangers, D-rings, or adhesive strips on the back of the board.
Measure the spacing carefully to keep it level. If leaning on a shelf or easel, make sure it’s stable and positioned at an optimal viewing height.
6. Place Pins, Clips, or Magnets
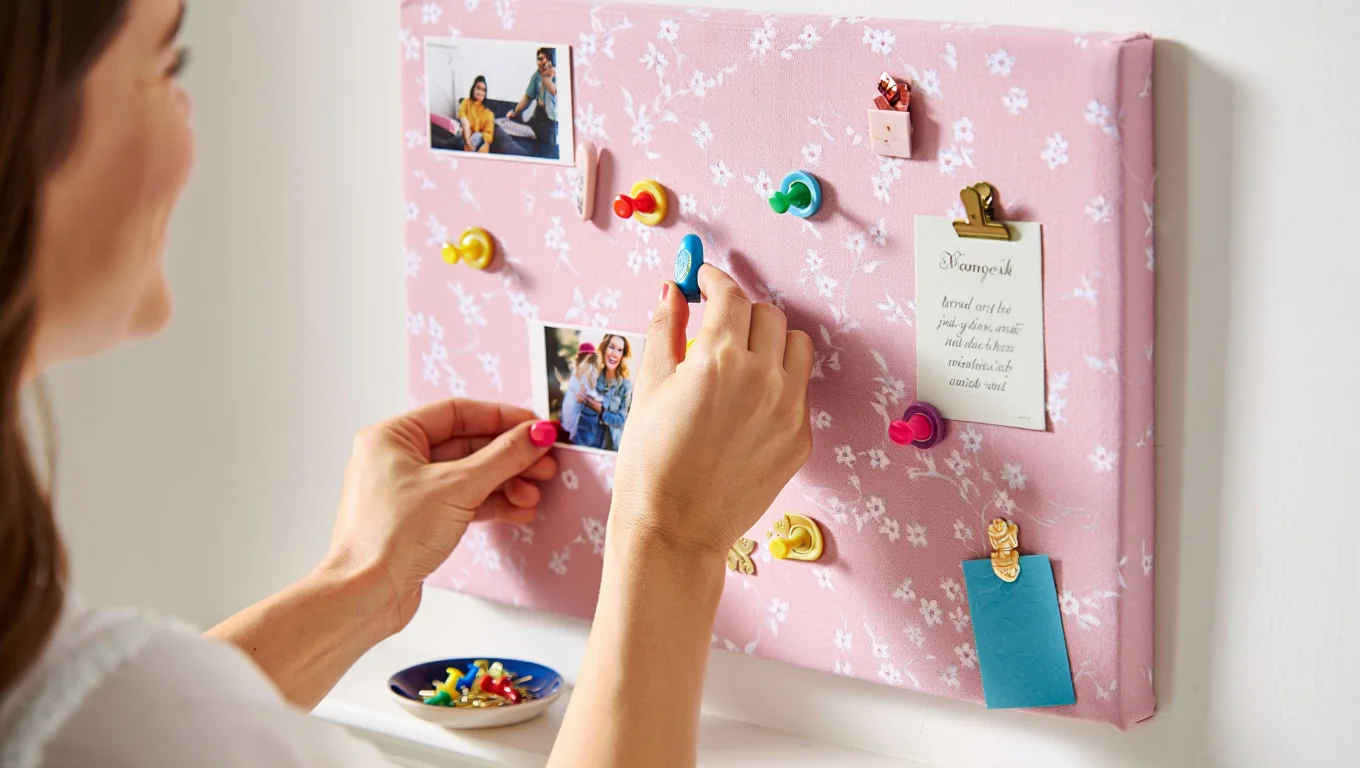
Once mounted, equip your board with the right accessories. Use push pins or decorative clips for cork or fabric boards. If magnetic, place stylish magnets where needed.
These tools will help you hold your photos, notes, and mementos in place while allowing for easy updates and rearrangements whenever inspiration strikes.
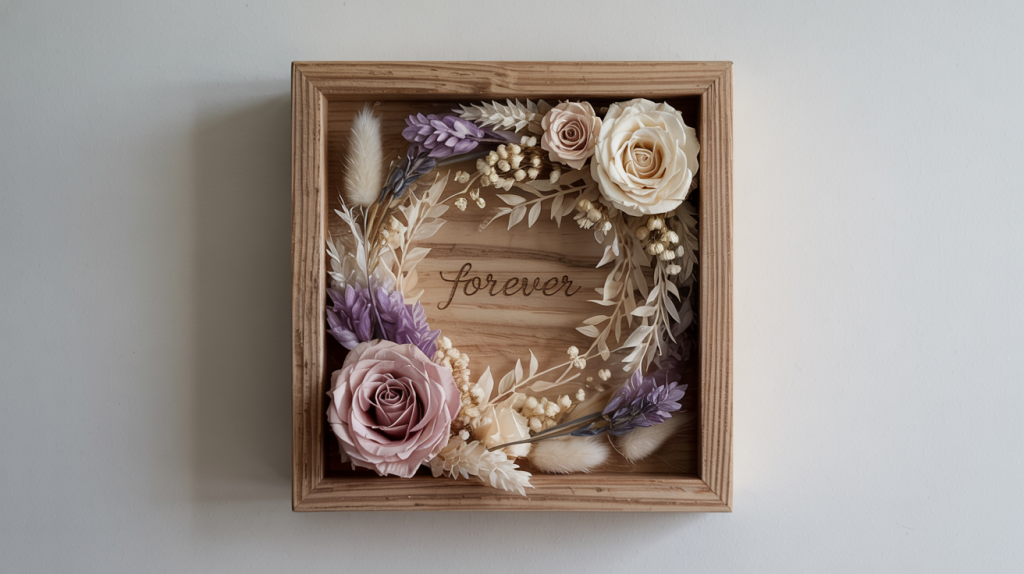
7. Decorate With Mementos
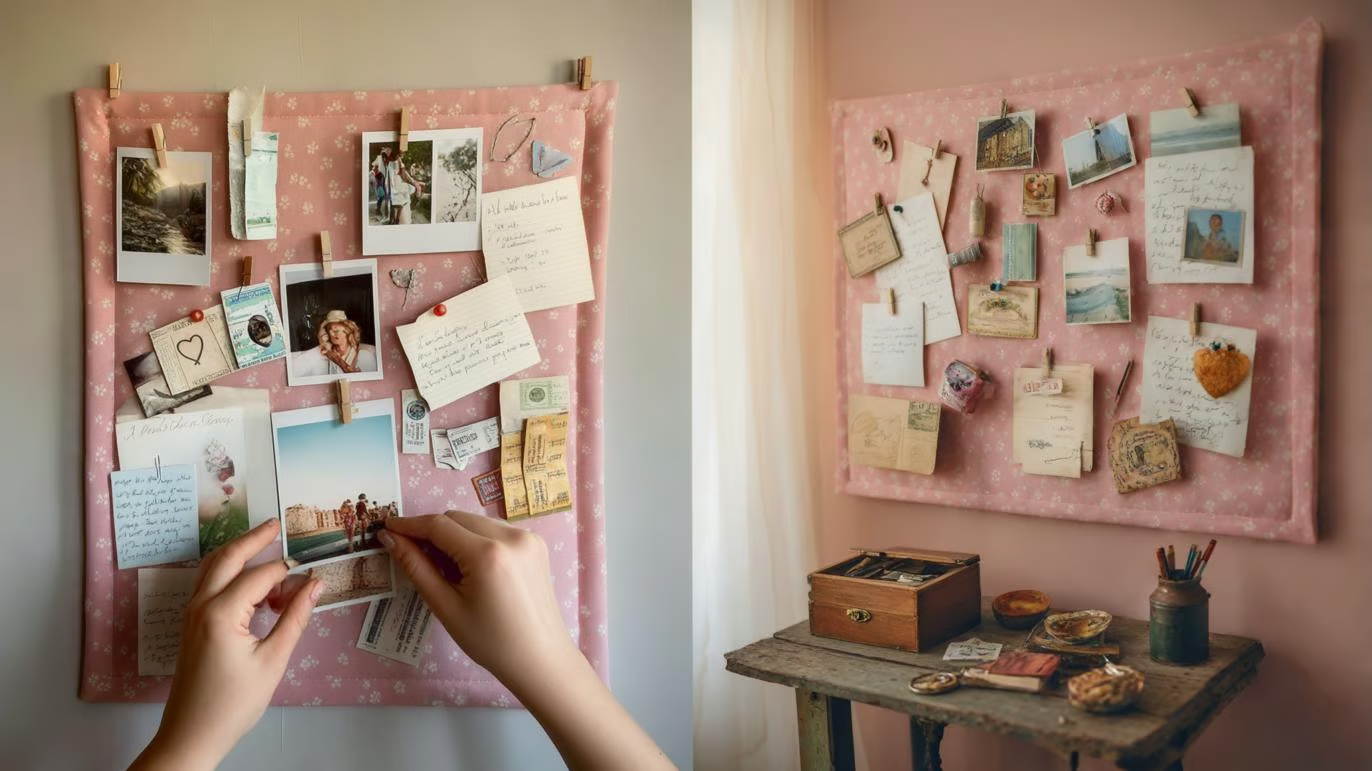
Now comes the fun part filling your board! Pin up photographs, handwritten notes, postcards, or small souvenirs that hold meaning for you.
Arrange them in a collage or grid, depending on your preference. Leave some open space for future additions, so your memory board continues to evolve with your life and creativity.
Tips for Displaying and Maintaining Your Memory Board
Your memory board is ready to shine in your home! Finding the right spot is key to enjoying it every day. Keep in mind a few simple tips when you hang and care for your creation.
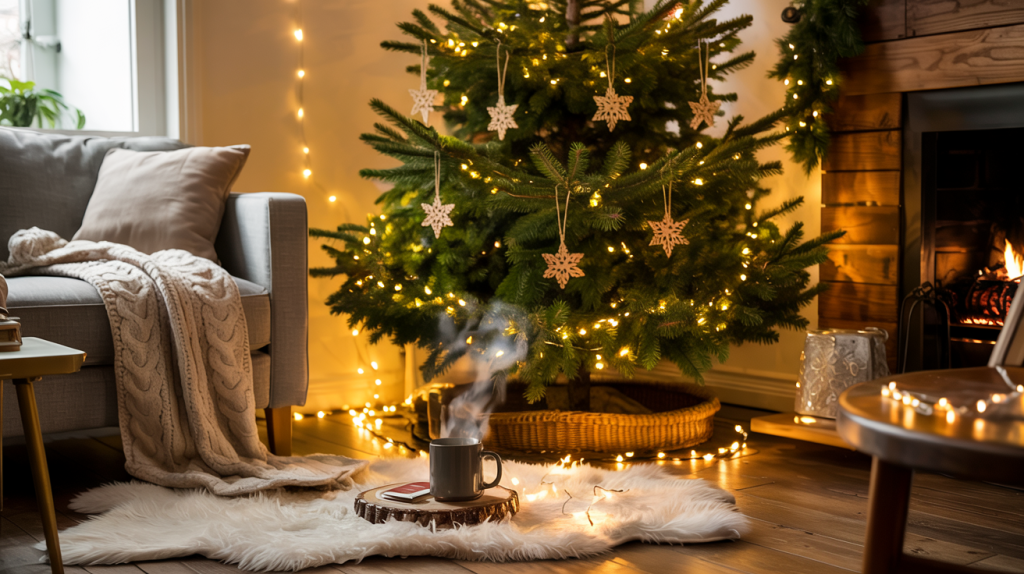
- Place your board at eye level in areas you often spend time in, like hallways, living rooms, or home offices
- Avoid spots with direct sunlight to prevent photo fading and damage to your crafted board
- Use proper wall anchors based on your board’s weight to keep it secure
- Clean the board gently with a soft, dry cloth once a month to remove dust
- Refresh photos every six months to keep your display current and exciting
- Consider using UV-resistant sprays for extra protection if the board is in a bright area
- Add small seasonal items or notes to update your board without a complete remake
- Take a photo of your layout before making big changes, so you can recreate favorite arrangements
Wrapping It Up
Creating your memory board is an easy way to bring your special moments to life. This project puts your photos front and center instead of being lost in digital storage.
What makes this DIY so special is how it fits your exact needs. You picked the size, colors, and layout that work for your space and style.
The real magic happens when friends visit and ask about the stories behind your photos. Your memory board starts conversations and keeps those moments fresh in your mind.
I hope this guide helped you transform your photos into a display you’ll love. Why not take a photo of your finished board and share it with me? I’d love to see how your personal touch made this project your own!